

You edit a sharp photo or a clean video, export it carefully, upload it to Instagram, and it comes out softer, cropped wrong, or strangely flat. That frustration is common because the problem usually isn't your camera. It's the handoff between your file and Instagram's processing.
For people managing brands, creators, or client campaigns, uploading to Instagram isn't a minor publishing step. It's the final production stage. A great asset can lose impact in a few seconds if the platform rewrites it badly, trims the wrong part of the frame, or publishes a low-quality preview while it's still rendering.
Why Mastering Instagram Uploads Matters in 2026
Instagram is crowded enough that sloppy publishing gets punished fast. As of early 2025, Instagram had two billion monthly active users worldwide, with over 1,074 photos uploaded every second and over 50 billion photos uploaded in total, according to Instagram statistics reported by REACH Influencers. That volume changes how you should think about posting. You aren't just adding content. You're competing inside an enormous stream.
The practical takeaway is simple. Quality control matters because attention is thin, and weak uploads rarely get a second chance. If your cover image looks muddy, your Reel opens with a blurry proxy, or your product edges get crushed by compression, people keep scrolling.
Publishing beats posting
Instagram is often treated like a social app first and a media pipeline second. That's backwards. The strongest operators handle Instagram more like a publishing environment with file prep, crop planning, review checks, and post-upload verification.
Practical rule: If a piece of content matters enough to brief, shoot, edit, and approve, it matters enough to publish correctly.
That mindset is what separates a casual post from a dependable workflow. It's also why strong social teams build repeatable upload standards for creators, freelancers, and internal staff.
Where most quality problems actually start
A lot of advice online stops at dimensions. Use the right aspect ratio, export high quality, and you're done. In real campaigns, that's not enough. Files that look perfect before upload can still degrade after Instagram processes them.
Common failure points include:
- Wrong format choice: A static image is used when a carousel or Reel would carry the idea better.
- Poor framing: Text or faces sit too close to edges and get cut in feed previews.
- Weak upload conditions: Teams publish from mobile data, rush review, and never confirm the final render.
- No final check: The live post looks different from the local file, but nobody catches it until comments start.
If you manage creator content at scale, these aren't small details. They're the difference between content that looks premium and content that feels disposable.
The Blueprint for Every Instagram Content Type
Not every post should be a Reel, but format choice matters more than it used to. According to social media engagement data published by REACH Influencers, Reels now account for more than half of the total time users spend on Instagram, generate over four times the engagement of a single-image post, and carousel posts outperform static photos with a 1.36% engagement rate compared to 1.04%. If you're still defaulting to one image because it's easier, you're usually leaving reach on the table.
That doesn't mean every idea needs video. It means the format should match the job.
What each format is best at
Single-image posts still work when the creative makes one clean point. Think launch visuals, quote graphics, product hero shots, or simple announcements.
Carousels are better when the audience needs context. Tutorials, before-and-afters, customer education, ingredient breakdowns, and campaign storytelling all fit here.
Reels are the best option when motion, pacing, audio, or sequence drives the message. Stories are still the fastest place for informal updates, polls, links, and audience interaction.
The right format solves half the upload problem before you export a file.
Instagram content specs for 2026
| Content Type | Aspect Ratio | Recommended Resolution (px) | Max File Size / Length |
|---|---|---|---|
| Photo post | 1:1 or 4:5 | 1080 x 1080 or 1080 x 1350 | Keep files optimized for fast, stable upload |
| Carousel | 1:1 or 4:5 | 1080 x 1080 or 1080 x 1350 per asset | Keep all slides consistent in crop and color |
| Reel | 9:16 | 1080 x 1920 for delivery, 4K source for export workflow | 3 seconds to 15 minutes |
| Story | 9:16 | 1080 x 1920 | Keep clips short and text inside safe areas |
| Feed video | 4:5 or 1:1 depending on placement | Match intended placement before upload | Keep visuals centered for preview crops |
For teams that want a creative assist before exporting, this step-by-step guide for Instagram content is useful for planning post types and visual variations before you enter the upload stage.
A simple format decision filter
Use this quick filter before publishing:
- Choose a photo when one frame tells the whole story.
- Choose a carousel when people need sequence, comparison, or education.
- Choose a Reel when movement, personality, or shareability is the point.
- Choose a Story when the content is temporary, conversational, or interactive.
The cleaner your format decision, the fewer fixes you'll need later.
A Practical Guide to Uploading on Mobile
Most Instagram publishing still happens on a phone, so the mobile workflow needs to be reliable. The app makes uploading feel simple, but simple doesn't mean forgiving. Mobile is where rushed decisions create bad crops, low-quality previews, missing tags, and inconsistent captions.
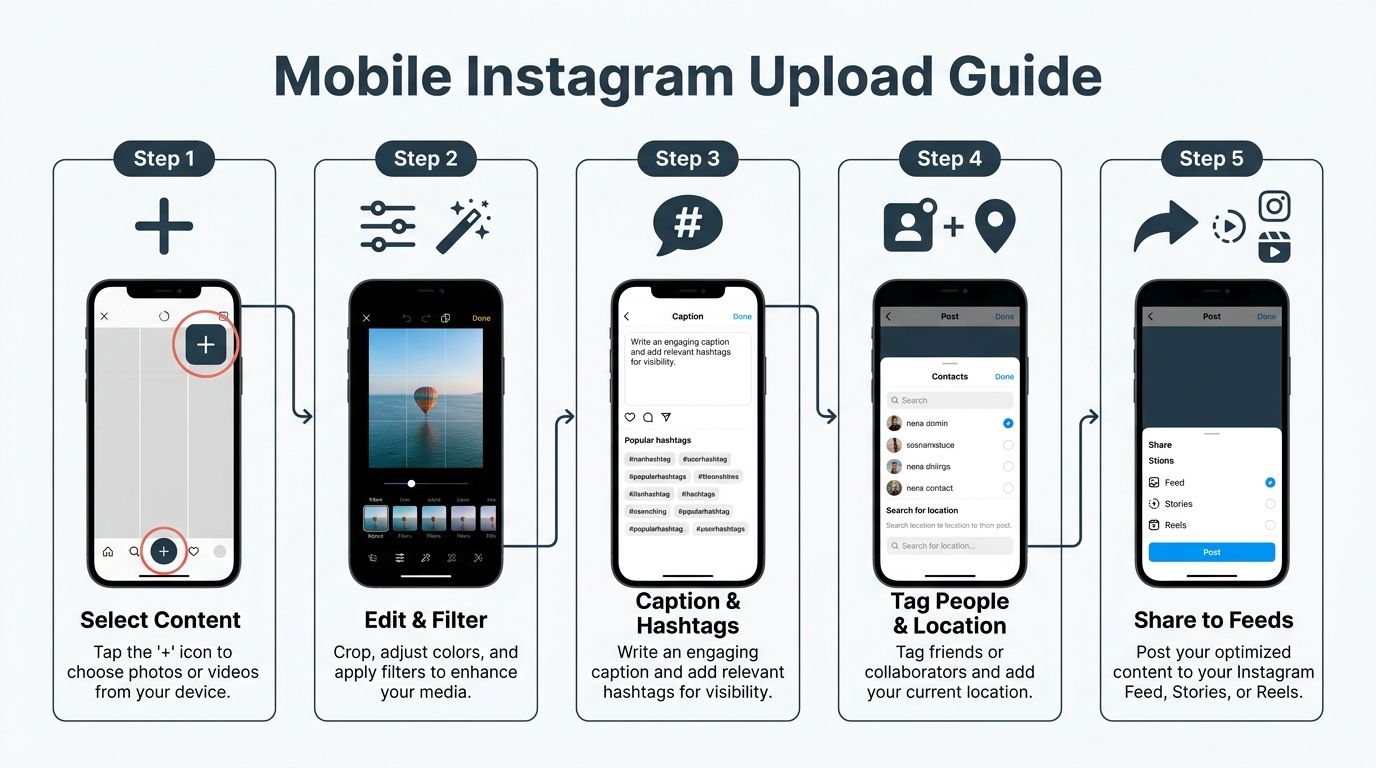
Uploading photos and carousels without mistakes
Tap the plus icon, choose Post, and select either one asset or multiple items for a carousel. Before you move forward, check crop consistency. Mixed crops across carousel slides often feel sloppy, especially for product campaigns or creator whitelisting content.
On the edit screen, use adjustments lightly. Instagram's in-app edits are fine for quick tuning, but major sharpening or saturation changes can make compression artifacts more obvious after publish. If the post is branded, finalize color and retouching in Lightroom, Photoshop, or your editor of choice before it reaches the app.
Then complete the packaging:
- Write a real caption: Give the audience a reason to stop, save, or comment.
- Tag the right people: Add collaborators, creators, photographers, or brand accounts where relevant.
- Add location only when useful: It helps local discovery, but it shouldn't be automatic.
- Check the cover frame: For carousel-first campaigns, slide one does most of the work.
Uploading Reels with cleaner output
For Reels, the publishing screen matters as much as the edit. Instagram requires Reels to be at least 3 seconds and up to 15 minutes, with a 9:16 aspect ratio, according to Instagram media guidelines. If you ignore that and upload a mismatched file, Instagram will often crop, pad, or compress it in ways that hurt the result.
Choose the cover image carefully. A weak auto-frame can ruin a strong Reel before anyone presses play. For branded content, create a cover in advance and make sure the title sits safely inside the visible crop.
If you're uploading a Reel for a campaign, review three things before publishing: cover frame, first second, and caption line one.
Invite collaborators when the post should live on more than one profile. That matters for influencer partnerships because shared publishing usually gets cleaner attribution than reposting later. If you're tagging products, confirm the product names and thumbnails before going live. Broken product tags make a polished post look unreviewed.
Stories need different instincts
Stories are less polished by design, but they still benefit from control. Use stickers, polls, questions, or link tools only when they support the purpose. Too many overlays make the frame feel cramped and can distract from the asset.
For Stories, keep key text away from the top and bottom UI zones. What looks centered in editing can feel buried once profile icons, reply fields, and stickers sit on top of it.
A final mobile habit matters more than commonly realized. After posting, open the published asset and watch it as a viewer. Don't assume the preview equals the final result.
Beyond the Upload Optimizing for Maximum Reach
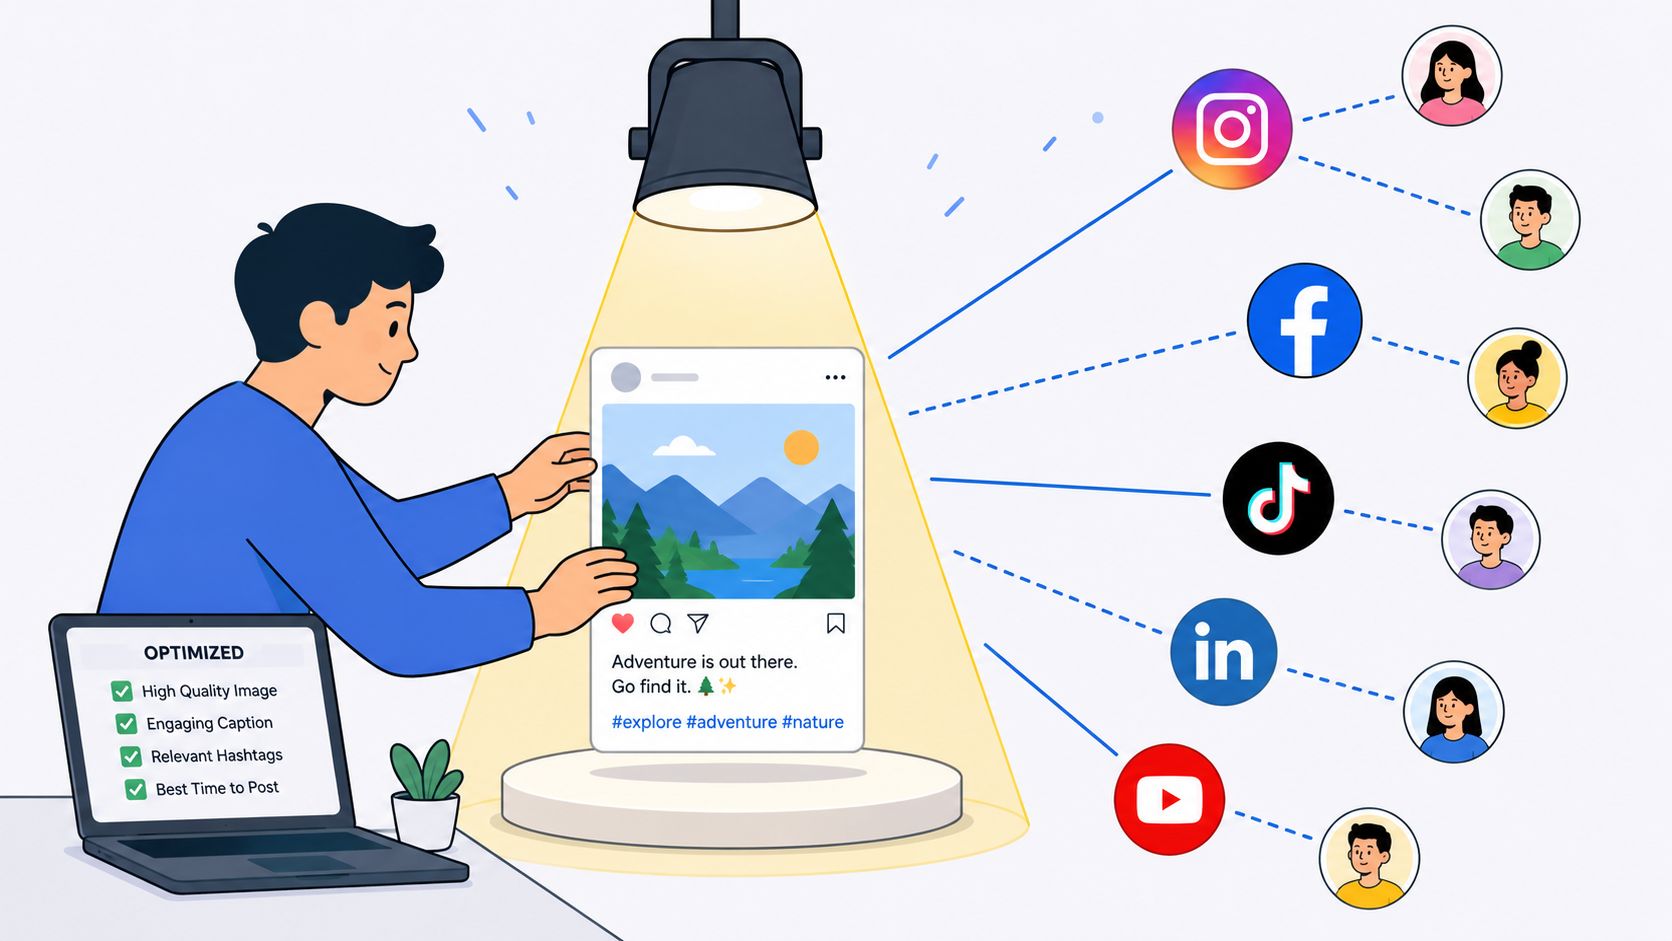
Publishing the file is only part of the job. The rest is making the post understandable, discoverable, and worth interacting with. Captions, hashtags, and alt text won't rescue weak creative, but they do help strong creative travel further.
The hidden reason your upload still looks worse
A lot of creators export at high quality and still get a damaged result because the issue happens after upload. According to this analysis on Instagram server-side compression, 60% of image quality loss occurs not on the device but when Instagram detects high-bitrate flags or metadata such as iOS HDR profiles and forces re-compression. The fix is practical: strip metadata and convert to the sRGB color space before uploading.
That explains a common mystery. A file can be technically large, sharp, and well-edited, yet still look worse once Instagram rewrites it.
What actually helps
The fix isn't to keep exporting heavier and heavier files. That often makes things worse. Instead, reduce the triggers that tell Instagram your file needs rewriting.
Use this checklist before upload:
- Convert to sRGB: P3 and HDR exports can create color shifts or trigger extra processing.
- Strip metadata: Remove unnecessary profile data before saving final JPGs or videos.
- Watch text placement: Keep titles and product labels away from edges and crop danger zones.
- Avoid over-sharpening: Compression exaggerates halos, grain, and rough skin detail.
- Review the live version: The exported file is not the final product. The posted file is.
A clean file with fewer compression triggers usually beats a technically heavier file that Instagram decides to crush.
Reach comes from packaging too
A stronger caption gives the visual a job. The best ones usually do one of three things: create curiosity, add context, or prompt a specific response. Generic captions don't kill a post by themselves, but they do waste an opportunity.
Hashtags still work best when they're selective and relevant. Broad tags can dilute intent. Niche tags often align better with what the content is about. Alt text matters too, especially for accessibility and discoverability.
If you're trying to refine timing after quality is fixed, this guide on the worst time to post on Instagram helps teams avoid wasting strong content in weak publishing windows.
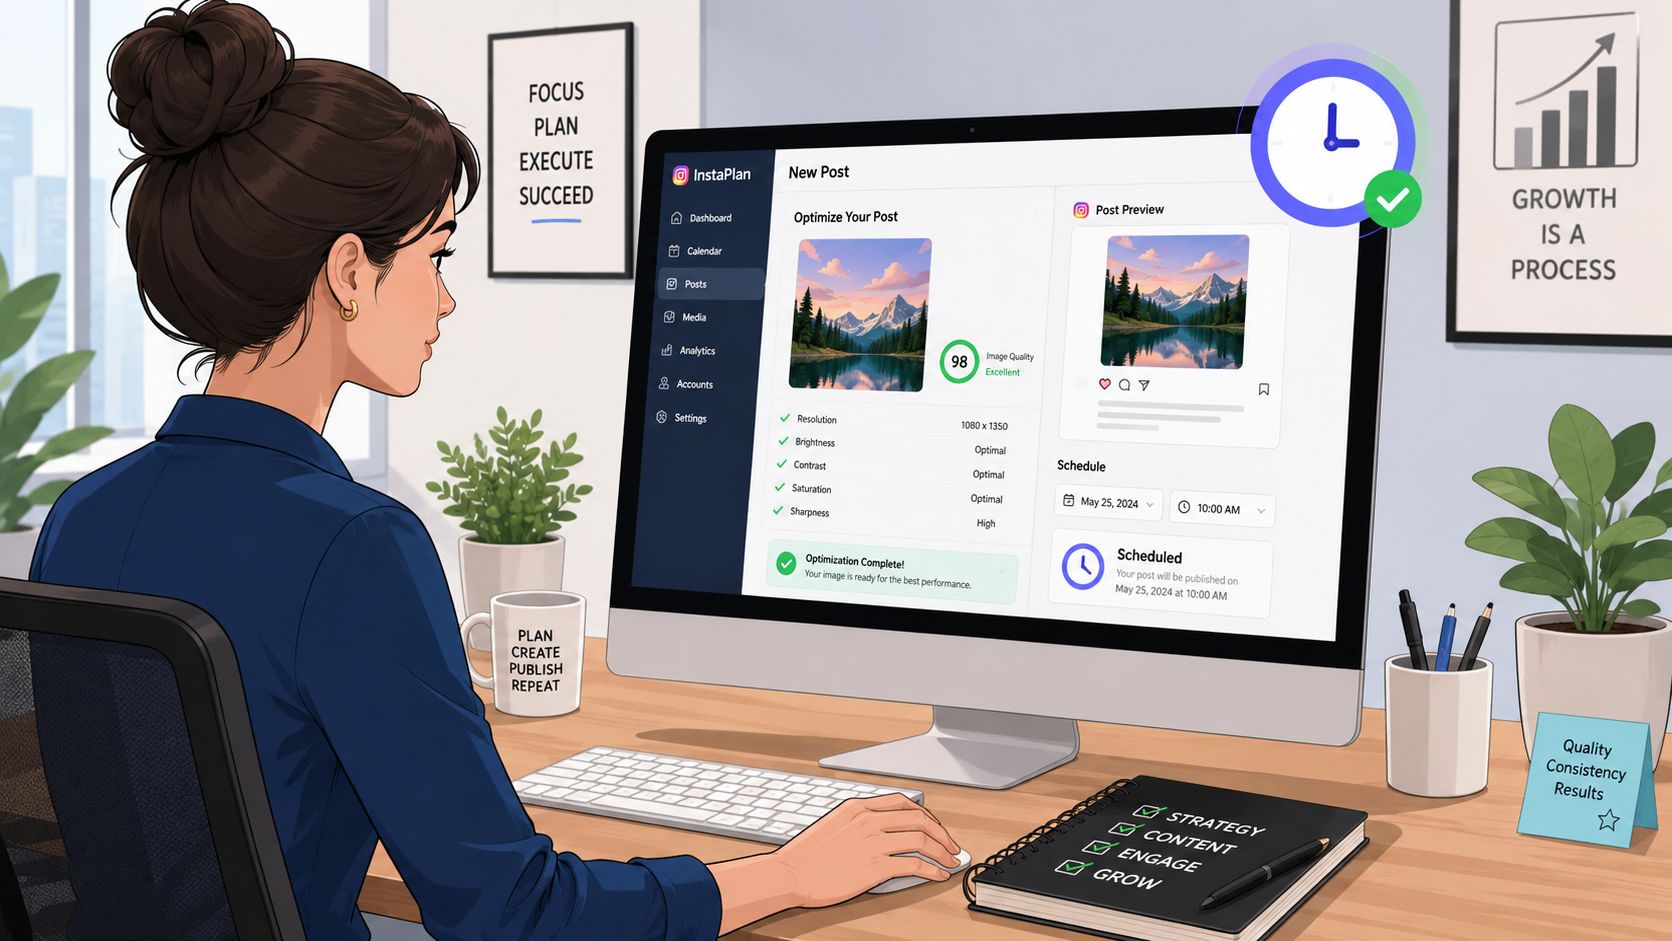
Advanced Uploading from Desktop and Schedulers
Desktop publishing is usually better for teams that need control, approvals, organized assets, and a cleaner handoff from editing software. It's not only about convenience. It reduces the number of small phone-side mistakes that happen when someone is rushing through a post between meetings.
When desktop is the better choice
If the asset came out of Premiere Pro, Final Cut Pro, CapCut Desktop, Photoshop, or Lightroom, publishing from desktop often keeps the workflow tighter. Your filenames stay organized, your captions are easier to proofread, and your team can review the actual upload package before it goes live.
A clean desktop workflow usually looks like this:
- Prepare final assets in one folder: Separate feed posts, Reels, covers, and Stories.
- Name files clearly: Include campaign, creator, format, and version.
- Paste from a reviewed caption doc: This avoids typo fixes after posting.
- Preview before publish: Confirm crop and thumbnail behavior in the browser.
The export setting that helps video survive compression
For video, the most useful pro move is exporting a stronger source file before Instagram touches it. According to this Instagram upload quality reference, you should export videos as H.264 or H.265 in 4K resolution at 3840×2160 with a bitrate between 80 and 100 Mbps. That gives Instagram more data to work with, which usually produces a cleaner final render than a standard 1080p upload.
This doesn't mean viewers always see true 4K playback. It means the source survives compression better.
A quick walkthrough helps if your team is building a repeatable system:
Schedulers help operations, not everything
Schedulers are great for planning, consistency, approvals, and multi-account management. They are not magic quality tools. Some teams assume a scheduler will improve formatting or compression outcomes by itself. It won't. The file still needs proper prep.
What schedulers do well is remove manual posting chaos. If that's the bottleneck, this guide on how to post to Instagram automatically is useful for setting up a more dependable workflow.
Streamline Campaign Uploads and Approvals with REACH
The hard part of Instagram campaigns usually isn't finding ideas. It's keeping creator deliverables, approvals, captions, deadlines, and live links organized once the campaign is moving. That's where time and quality control frequently suffer.
If you've managed influencer content in spreadsheets and DMs, you already know the friction. One creator uploads the wrong crop. Another sends a draft in the wrong format. Someone publishes before legal review. Then the team chases links, screenshots, and revisions across five tools.
Why campaign teams need a system
A proper workflow solves problems before they hit Instagram. Brands need a place to define deliverables, creators need a place to submit content, and managers need a way to approve, request changes, and confirm that posts went live.
REACH is built for that operational layer. It gives agencies and brands one place to manage campaign details, creator communication, deliverables, approvals, and tracking across channels. For teams that want cleaner review loops before anything goes live, the content approval workflow in REACH is the piece worth looking at first.
Good Instagram publishing starts before the upload screen. It starts with clear specs, clean approvals, and one source of truth.
That matters even more when multiple creators are producing content for the same launch. Consistency doesn't happen because everyone means well. It happens because the workflow makes the right output easier.
If you're tired of chasing creators in DMs, cleaning up avoidable upload mistakes, and piecing campaigns together in spreadsheets, REACH gives you a cleaner way to run influencer campaigns from brief to approval to live tracking. It's a practical command center for brands, agencies, and social teams that want less chaos and better execution.
